
.jpg?width=1029&height=514&name=Featured%20image_%201100x550px%20(19).jpg)
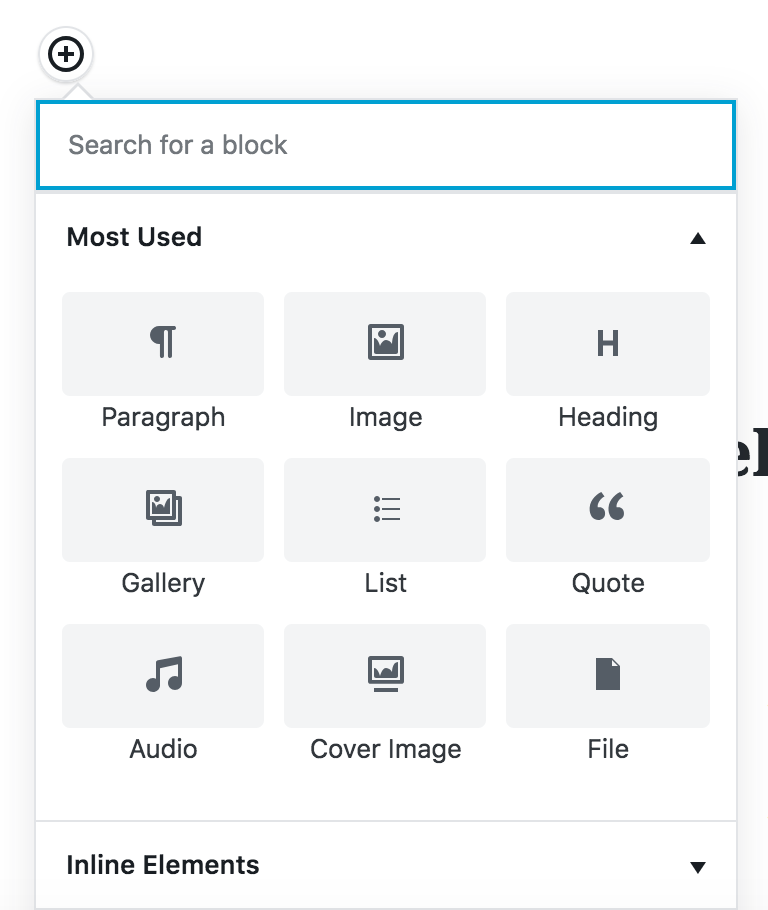
When designing a new article or landing page in WordPress or Drupal using the gutenberg plugin, you quickly end up in a situation where the standard blocks don’t appear to exactly fit your needs.
In those cases you probably want to create a new custom gutenberg block, which does precisely what you want. Before you go too far with your design and amazing ideas however, there are a couple of questions you should ask yourself.
Do you really need a custom gutenberg block?
Before you start designing and building a brand new custom block, ask yourself if it’s really needed. You might find 80% of what you need in a core block, and with the option to make patterns of existing blocks, it could be you don’t need to create a custom block after all.
Extending existing gutenberg blocks
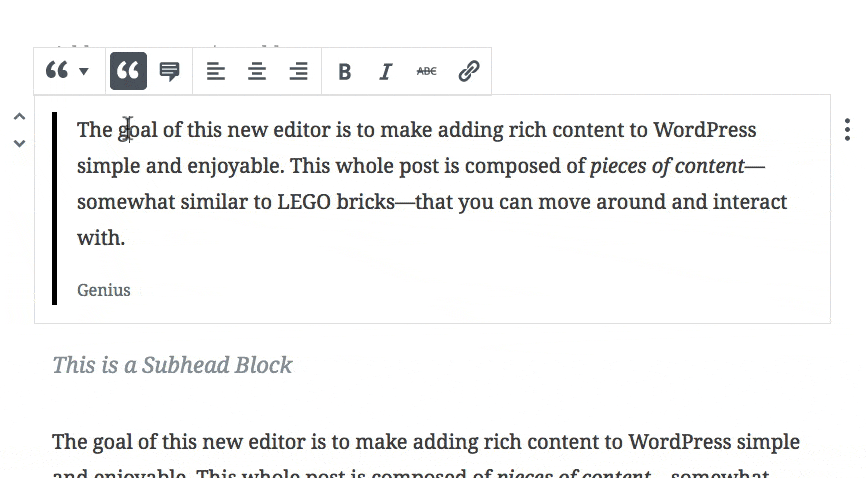
If your needs can’t be solved with core blocks and patterns, ask yourself again if you can extend a core block by additional styles. This is a good option if you want another look and feel of a block, but don’t need to adjust the edit UI and rendered html markup itself. Quote is a good example of a block that has multiple styles, and maybe you just need one more style to choose from.
Planning for a new custom gutenberg block
Ok, so you’ve considered your options, and decided that you can’t solve your needs with additional styles to a block. In that case, you should start planning for a new awesome custom block. Firstly, don’t try to create “one block to rule them all”. Instead clearly define:
- What’s the goal for the block? Think title and short description.
- What type of data should it handle?
- What data is required/optional?
- What settings should be available, eg. should it be possible to set it to full width?
- Choose what should be the default settings. What would content editors want most of the time?
- Do I need a wrapper block, and what settings should the wrapper block have?
- Should the block have different visual variants using styles?
While you should not try to create one block for all needs, creating too many blocks should be avoided as well. Try to find a balance between flexibility and simplicity.
Static vs. dynamic gutenberg block
You should clarify if it’s a dynamic or static block. A static block would have editable fields where you directly edit the content. A dynamic block on the other hand could fetch data from the database or external API. An example of this would be listing the five last news articles from a category.
Visual design
When it comes to the visual design, or in other words; what you see when previewing the page, there is really nothing special about it. If you have plans for different layout options, styles and optional fields, you should of course design and show how it would look with real content.
One thing to take into consideration is where you put the blocks. Each template will just have one area where blocks can be put, and most commonly blocks are stacked on top of each other. You can try to be fancy about it, but remember that there is an editor side to Gutenberg that should represent the layout and look of the preview page.
Editor experience, this is important!
Editing a Gutenberg block is where the magic happens. This is where the rubber hits the road for the block. WordPress has written a guide with best practices for creating custom blocks.
Content area
Primary content and settings should be available inside the content area. This is the heart of the block, and is also where you should try to make it look similar to what it looks like in preview mode. Fields can be shown when the block is selected. A good example of this is the cure button block that reveals a url field when the block is active.
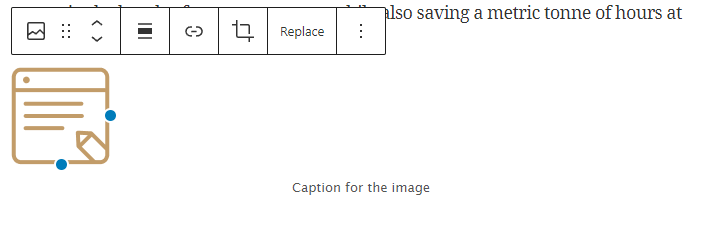
Toolbar
Other critical block functionality can be placed in the toolbar:
The toolbar is shown when the block is selected and it’s visible on all screens (mobile and desktop). The toolbar UI is icon based, and it’s grouped in sections (from left to right):
- Block chip (always available)
- Transform block from one block to another
- Select styles
- Move block by dragging or up and down
- Meta
- Open modal
- Open modal
- Tools, block level settings
- Text alignment
- Block layout width (regular, wide, full width)
- Inline formatting
- Bold
- Italic
- Underline
- Other
- replace image
- replace image
- Generic options (always available and similar on all blocks)
- Copy
- Duplicate
- Insert before and after
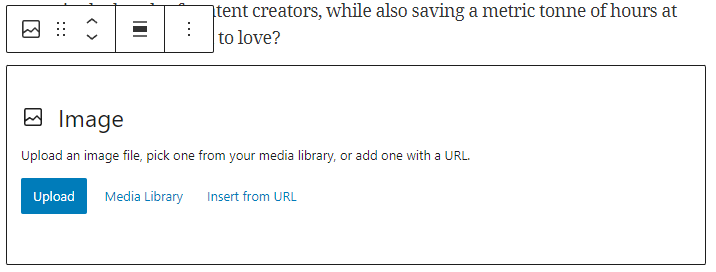
Toolbar icons can be visible or hidden based on the block state. Eg. the core image block won’t show “replace image” before an image is added to the block.
Sidebar
If the block needs additional settings that are not important or too advanced, it can be placed in the sidebar. This settings should not be required for setting up a rendered block. Sidebar settings will more often be collapsed, and on mobile it’s hidden by default.
Placeholder and setup state
Some blocks are simple and need just a text placeholder to guide the editor in creating a new block, while other blocks are more complex or don’t have any obvious placeholder that makes sense. That when a setup state could be the right solution.
A setup state will guide the content editor adding the right type of content, and after it’s added, we can render the block as it will appear in preview mode.
Publish! Wait, hold your horses!
And then, finally it’s ready to publish your new shiny gutenberg block! No, wait! Have you remembered to test it? Will other people understand it, and does it meet the goals you set up?
Always, always have other people test and iterate over it. Ideally this should happen multiple times through the process to iron out the quirks and create the best user experience possible. Sven Hognestad has written more about the importance of testing often and early.
What you don’t want is a block no one understands, and you have to provide deprecated versions for small changes that should have been caught throughout the process.
Finally, now push the publish gutenberg block button!


